CLI-specific instructions
Installation
Install Node.js 12+ and npm 6+ (usually comes with node).
Install the generator CLI tool using npm:
npm install -g @cuba-platform/front-generatorCheck if installation was successful by running the following command:
gen-cuba-frontThis will display the usage info.
Alternatively, you can run the generator without installation using npx:
npx @cuba-platform/front-generatorProject Metadata
The generator CLI tool will require the project metadata: information about your project’s entities, views, etc. You can pass this information to the generator using CUBA Studio. There are two ways of doing that.
Passing Project Metadata Automatically
-
Open your project in CUBA Studio.
-
Open settings (
File > Settings), then openLanguages & Frameworks > CUBA. -
Tick the
Enable integrationcheckbox: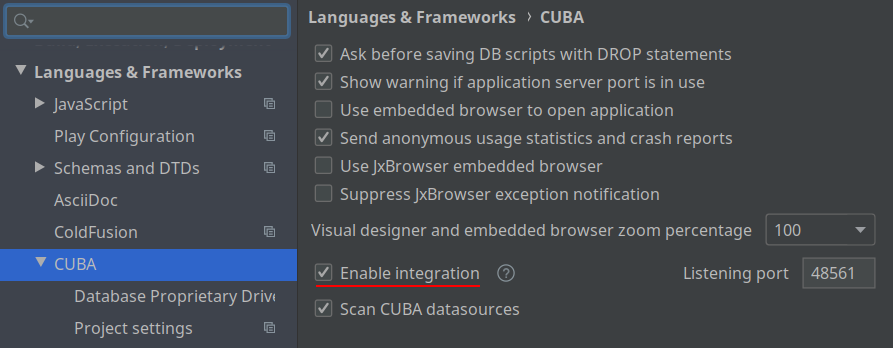
Now the generator will be able to automatically detect CUBA projects opened in Studio.
Passing Project Metadata Manually
You can export the project model manually. Select CUBA > Advanced > Export project model in the main menu. Studio will generate projectModel.json file.
When the project model changes (e.g. an entity has been altered, a view has been added, etc.), you will need to re-generate the project model file and update the project model in already generated code. In order to do the latter you can use a convenience npm script: npm run update-model.
|