Getting Started with React Client
| If you haven’t read our introductory Getting Started section, we encourage you to do so now. |
In this guide we will use the Frontend Generator to create a starter React client and add screens to browse and edit an entity. You can try it with your own CUBA project, or you can use Petclinic sample project.
There are two ways to use the generator: from CUBA Studio and from CLI.
Using Generator from Studio
Select CUBA view in Project tool window. Right-click on and select . Choose React module preset.
Starter React client will be created in the modules/front directory.
Using Generator from CLI
If you are passing the project model automatically, open your CUBA project in Studio and run the following command in the terminal.
gen-cuba-front react-typescript:appGenerator will prompt you to select one of the currently opened CUBA projects.

If you are using an exported project model file, use --model parameter to pass it to the generator.
gen-cuba-front react-typescript:app --model /work/cuba-samples/sample-sales/projectModel.jsonExploring the Generated Project
Here is the structure of a newly generated project:
app-name/
  package.json
  package-lock.json
  node_modules/
  public/
    index.html
    favicon.ico
  src/
    index.css
    index.tsx          <- App entry point. Do not move/rename this file
    routing.ts         <- Routing configuration
    app/
      App.css
      App.tsx          <- App shell. Switches between Login form and internal application
    cuba/              <- CUBA Model. See [Backend model]
      entitites/       <- Project entities
        base/          <- Entities from addons and framework
      enums/           <- Project enums
Running the Client
Navigate to the directory with the generated React client and run the following command to install the dependencies.
npm installNow you can run the client by executing the following command:
npm run startThis will launch a dev server and allow you to access your app at localhost:3000.
Either way, this is what you will see once you open your project in a browser.
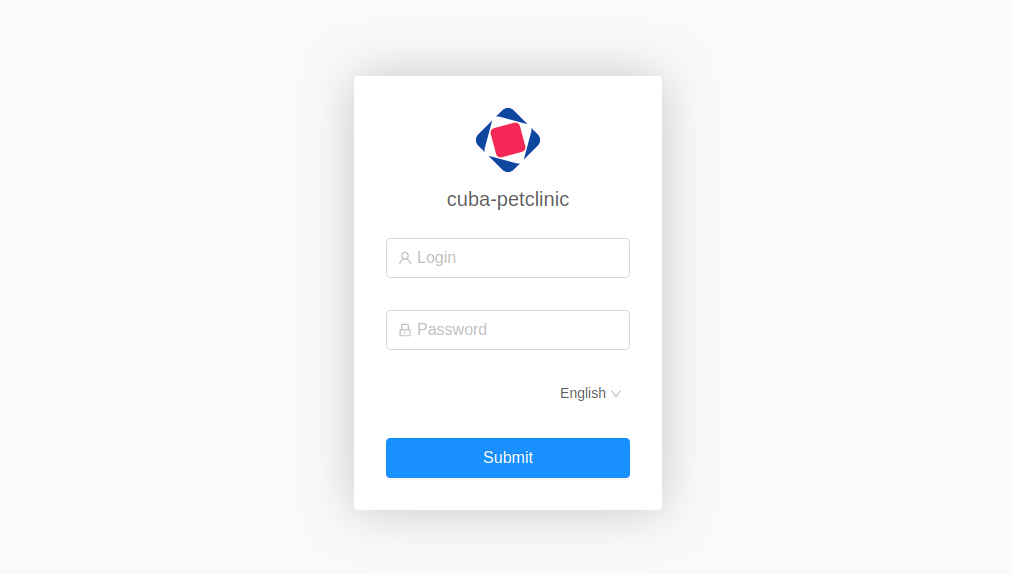
Enter existing user’s login and password (admin/admin if you are using Petclinic).

That’s it! Congratulations, you have just created your first React client!
Adding Components
So far our React client doesn’t do much. Let’s add the screens to browse and edit an entity.
Adding Components Using Studio
In CUBA view of Project tool window expand Data Model and right-click on an entity class. Select . Select .
Adding Components Using CLI
Execute:
gen-cuba-front react-typescript:entity-management --dest src/app/pet --dirShift ../../--dest is the destination path for the components to be generated into. --dirShift is the relative path leading from the components destination directory back to src directory.
As before, if you are using a project model file you’ll need to supply it with --model parameter.
The generator will ask you several questions:
-
Select a project (this won’t be asked if you have supplied a project model file).
-
Select an entity for which the components shall be generated.
-
Enter a name for the CRUD component, it is a component that renders a List component (i.e. an entity browser) or an Edit component (i.e. an entity editor) depending on which route is active.
-
Select a list type, i.e. how your List component shall look like (for now just select
table). -
Name the List component.
-
Select a view for the List component.
-
Name the Edit component.
-
Select a view for the editor component.
If you are using Petclinic sample project you can enter the following values:
? Entity petclinic_Pet
? CRUD component name PetManagement
? List type table
? List component name PetBrowser
? List view _minimal
? Edit component name PetEditor
? Edit view pet-with-owner-and-type
Once all questions are answered the generation will begin. You will be asked to confirm the changes to some existing files - agree to all.
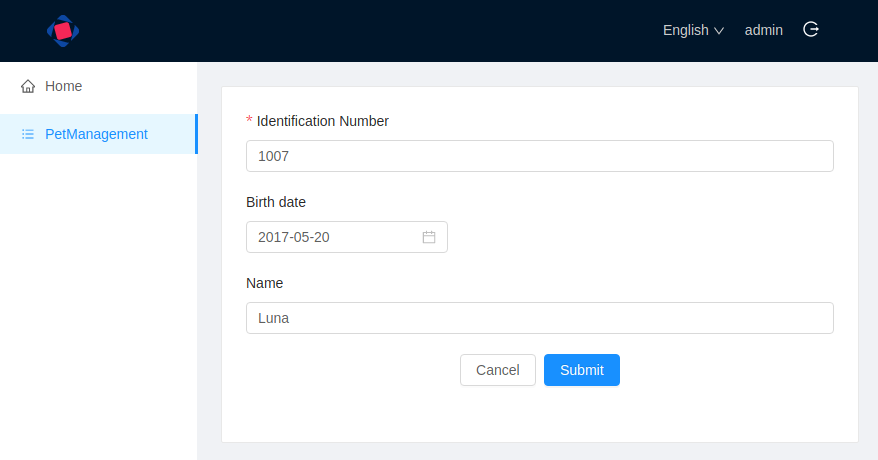
Now let’s go back to localhost:3000 and see the changes. You should be able to see a new main menu item that will lead you to an entity browser screen.
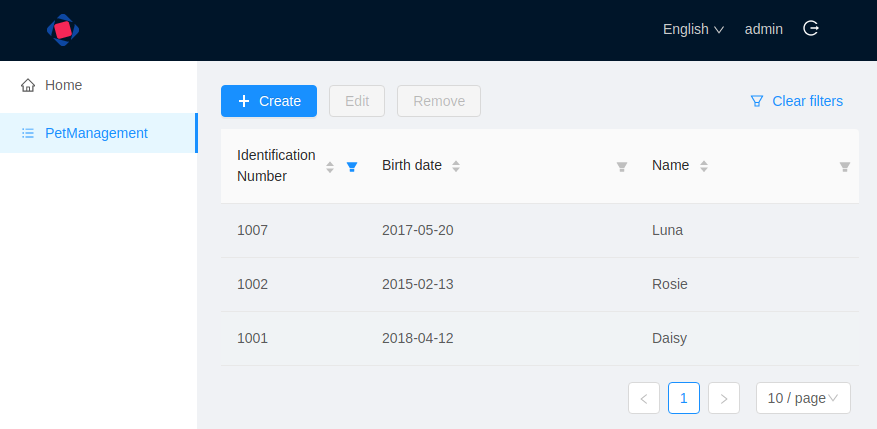
If you select an entity and click Edit you will be taken to the entity editor.
That’s it!