3.1. Project Setup
-
Download and unzip the source repository of the Library application, or clone it using git:
git clone https://github.com/cuba-platform/sample-library-cuba7
-
Open the Library project as described in the Opening an Existing Project section of the CUBA Studio User Guide.
-
Add the Reporting addon to your project via CUBA Add-Ons window as described in the Installation section.
-
Create the database on the local HyperSQL server: go CUBA → Create database in the main menu.
-
Run the application by clicking the
 button next to the selected CUBA Application configuration in the main toolbar.
 -
Click the link in the Runs at… section of the CUBA project tree.
-
Log in to the Library application with username and password
admin/admin.
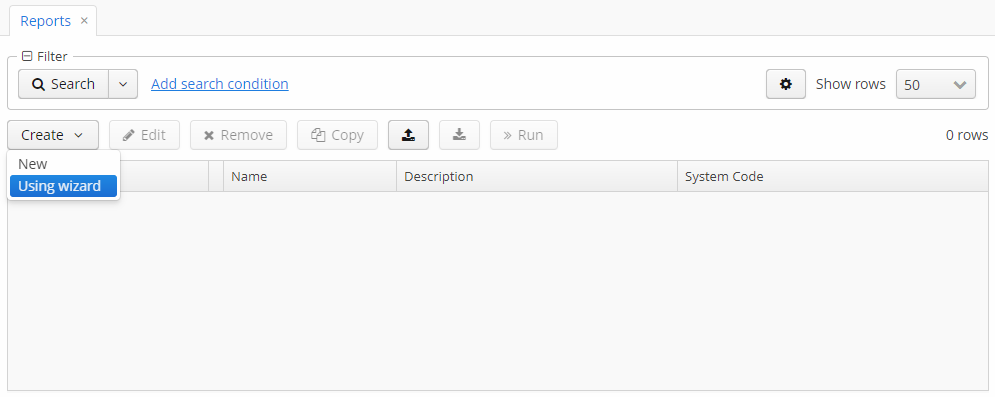
For an easy start, the report generator comes with the Reports wizard – a visual tool for quick report creation, including both data structure and template design. Having created a report with the wizard, you can then decompose it and learn how the datasets are created, explore the report parameters, modify the template or the output type, following the further sections of this manual.
To run the wizard, click Create → Using wizard in the Reports screen.
Three types of reports can be created using the wizard:
-
Report for a single entity.
-
Report for a list of given entities.
-
Report for a list of entities filtered by query.
Report design is a three steps process:
-
Creating a data structure of a report.
-
Editing of report regions.
-
Saving the report.
The created report can be modified in the usual manner using the report editor and run through the generic report browser or using special actions (ListPrintFormAction, EditorPrintFormAction, etc.).