3.2. Report for a Single Entity
Let us assume that we want to get information about the particular publication of a book, i.e. an instance of library$BookPublication entity.
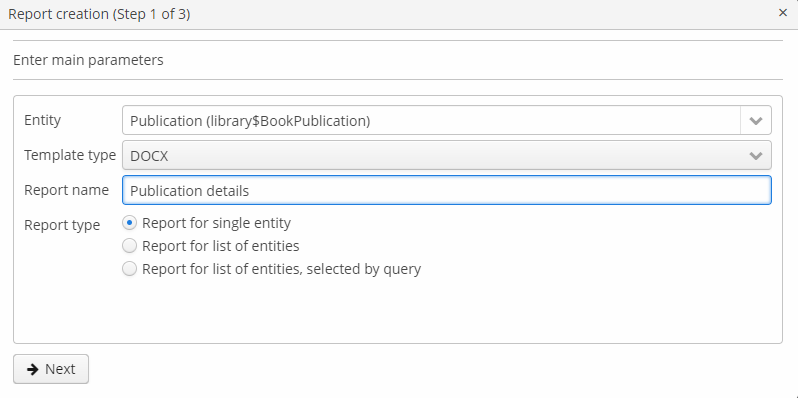
First, run the reports wizard and specify the report details:
Next, specify the report type: Report for single entity.
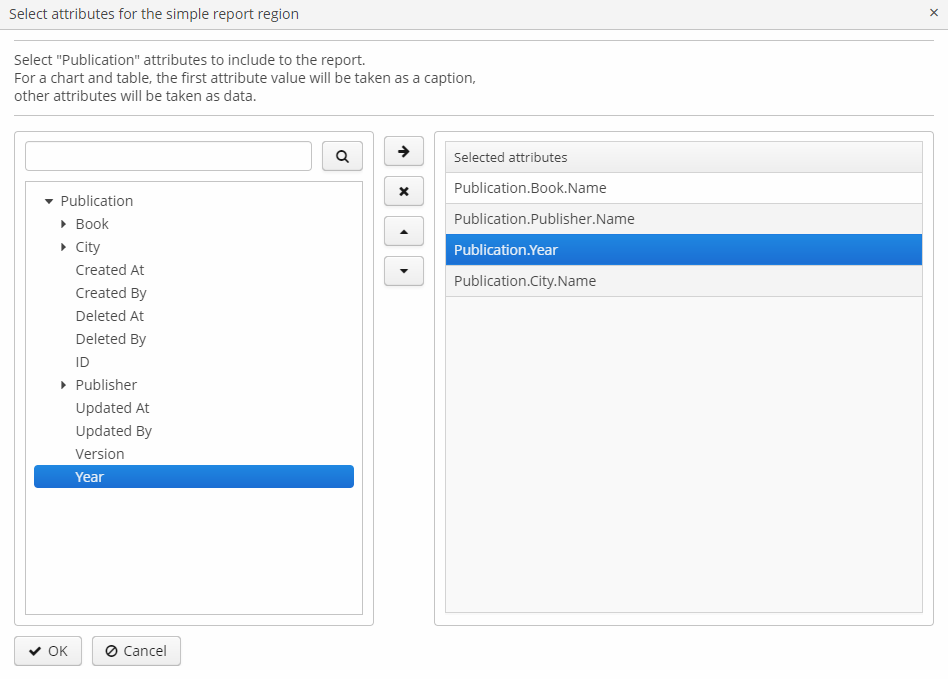
Then click the Next button; the Select attributes for the simple report region window appears. Specify the attributes of the BookPublication entity and linked entities that should be reflected in the report (Publication.Book.Name, Publication.Publisher.Name, Publication.Year and Publication.City.Name). In order to do this, select them in the left column and move them to the right clicking ![]() or by double-click.
or by double-click.
The order of the attributes in the report will correspond to the order specified in the right-hand side list. To change the display order, move the attributes up and down by clicking  /
/ .
.
Click ОК to move to the second stage – report regions editing.
The appeared screen contains a list of named regions – bands that display related data. The wizard enables adding several plain-text regions to the template in order to display different data sets.
A set of entity attributes loaded to a particular region can be modified by clicking the link represented as the list of the selected attributes. You can also add a new region by clicking Add simple region.
If the entity contains collection attributes, the Add tabulated region button will appear. It enables adding a region for tabular data display.
In both cases, the selection dialog will appear with a list of attributes of the library$BookPublication entity, allowing you to add or remove attributes from the set.
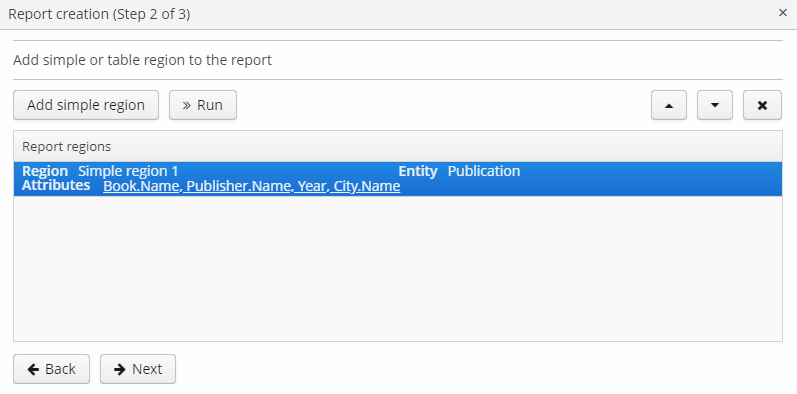
At this stage, we already can run the report and see how the report looks. Click the Run button, pick the instance of library$BookPublication and see the result.

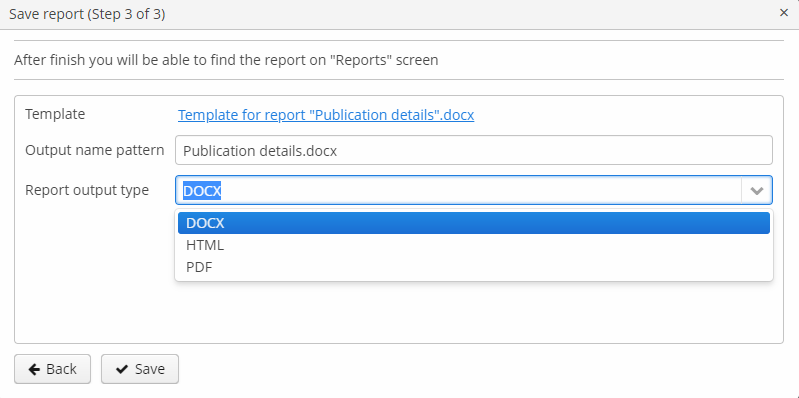
When all report regions are configured you can move on to the third stage: saving the report. At this point, you can view the complete report template, or change the name and format of the output file to one of the available types.
After clicking the Save button, the standard report editor comes up. Now you can fine-tune the report in the usual manner. Once editing is complete, click Save and close in the report editor.
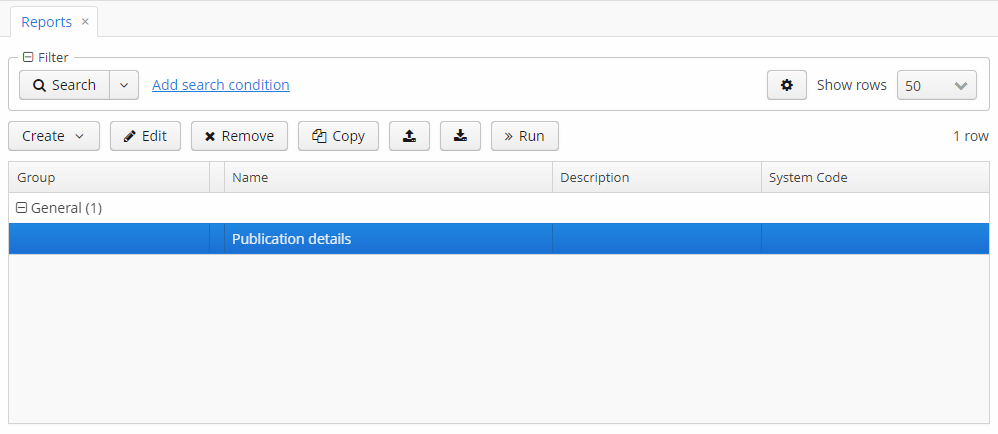
The report is now added to the General reports group in the reports browser, where you can run it from by clicking the Run button.
Additionally, we can enable the report run on the publications browser. In order to do this, we will declare a standard ListPrintFormAction in the bookpublication-browse.xml screen descriptor:
<groupTable id="bookPublicationsTable"
width="100%"
dataContainer="bookPublicationsDc">
<actions>
<action id="create" type="create"/>
<!-- -->
<action id="list" type="listPrintForm" caption="msg://printDetails"/>
</actions>
<columns>
<!-- -->
</columns>
<rowsCount/>
<buttonsPanel id="buttonsPanel"
alwaysVisible="true">
<button id="createBtn" action="bookPublicationsTable.create"/>
<!-- -->
<button id="listBtn" action="bookPublicationsTable.list"/>
</buttonsPanel>
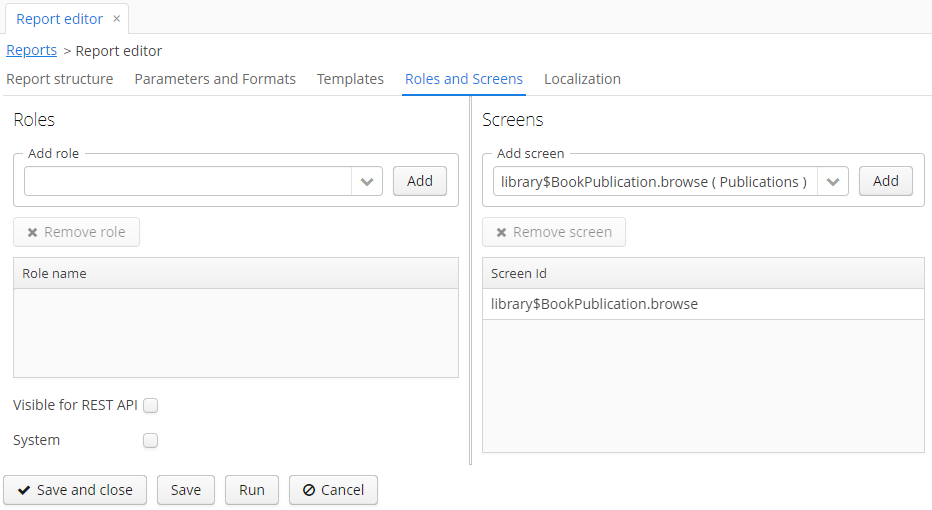
</groupTable>Then we should link our report with the BookPublication browser. Open the report editor, switch to the Roles and Screens tab and add the library$BookPublication.browse screen from the dropdown list to the table below:
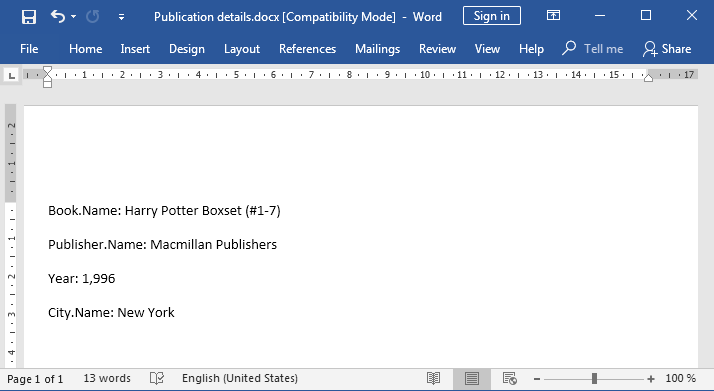
Now you can run the report for any publication by selecting it in the table and simply clicking the Print details button.

The output is as follows: