3.4. Report for a List of Entities Filtered by Query
Now let’s have a look at the last report type suggested by the wizard: the report for a list of entities filtered by a query. To demonstrate this use case, we will complicate the previous example. As before, the report will contain a list of books (with their titles and department names), but only added after a certain date.
Let us set the details of the report like in the previous case:
-
Entity – report entity –
library$BookInstance. -
Template type – output file format – XSLX.
-
Report name –
Recently added book items.
Then select the Report for list of entities, selected by query report type.

The selected report type allows us to select the list of entities that match the specified conditions. In order to set the query, click Set query link below.
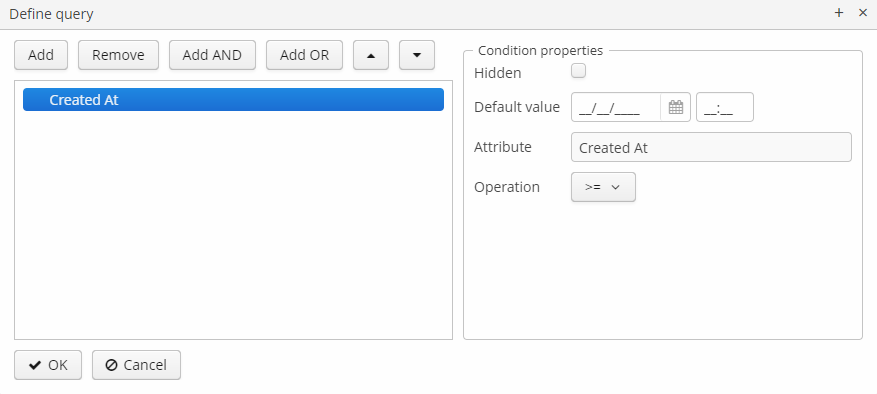
The Define query window appears. As you can see, the window is similar to the generic filter window. Here you specify conditions, combine them into AND/OR groups and configure their settings.
In order to add a new query condition, click Add. Select Created at attribute in the appeared window. Now the attribute is added to the query conditions tree and the right-hand side panel displays its properties.
In the properties panel, you can set the default parameter value. If the report logic is not supposed to be changed, you can make this attribute hidden by checking the Hidden checkbox. In this case, the user will not be requested to input this parameter when running the report.
Select an operator (>=).
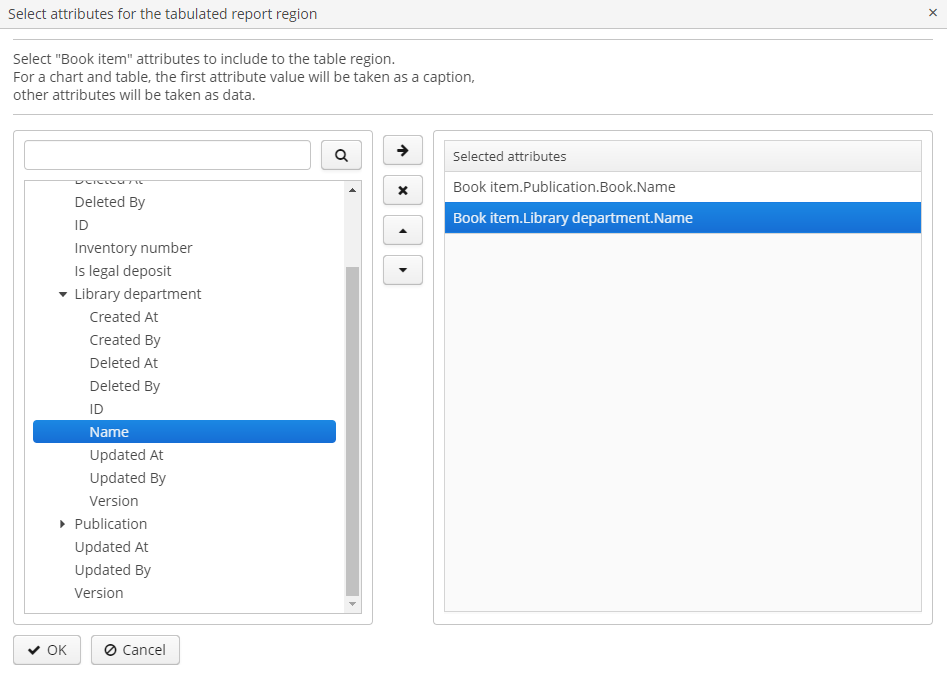
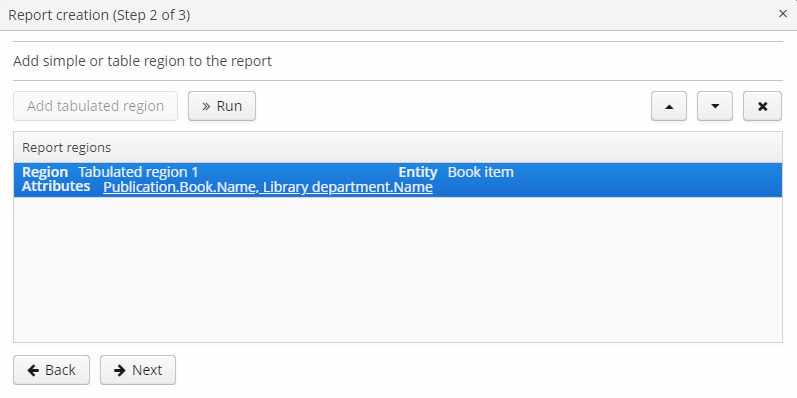
After saving the query, click Next and move to library$BookInstance attributes selection. We move BookItem.Publication.Book.Name and BookItem.LibraryDepartment.Name attributes to the right. Click OK to move on to accomplish the first stage.
Press Next → Save to save the report.
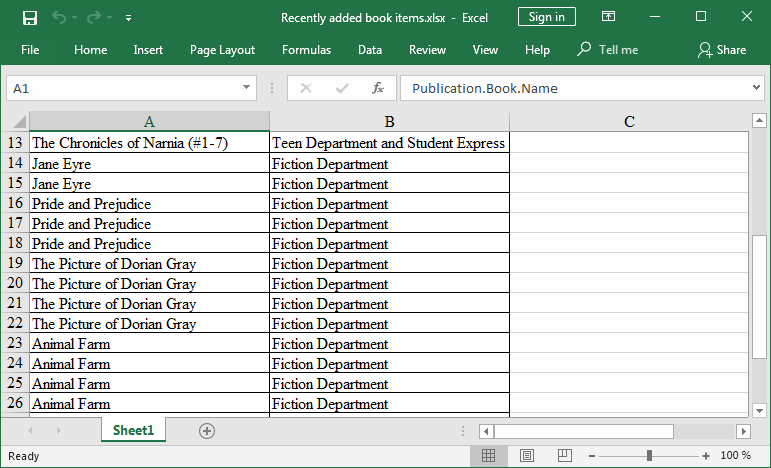
The report will look as follows:
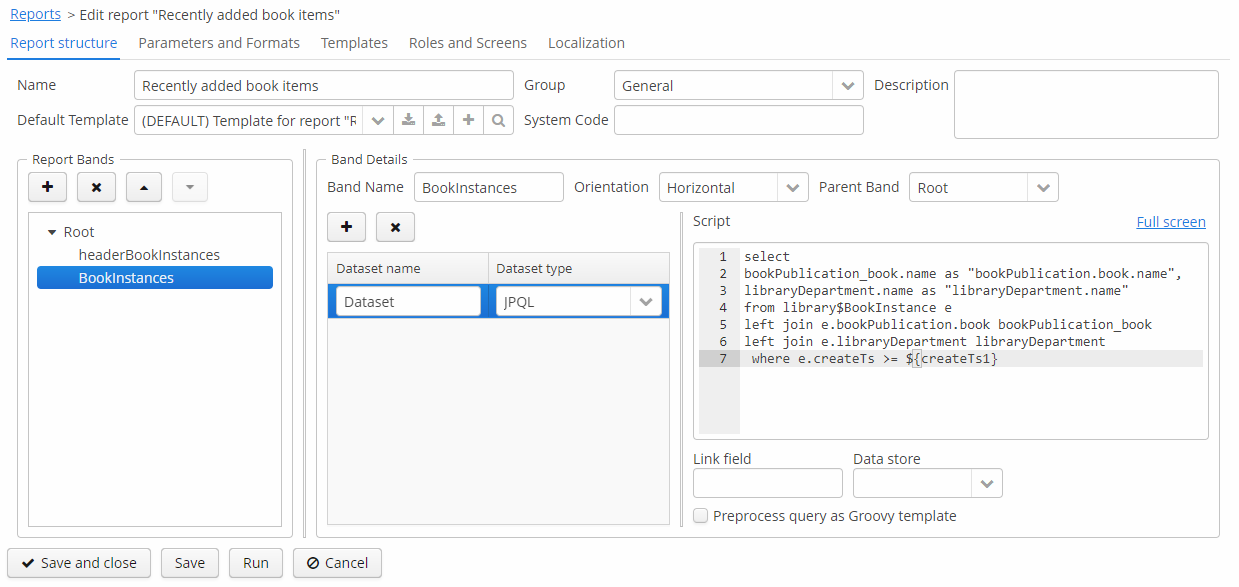
The editor enables making the report structure more sophisticated by adding new bands and data sets, as well as configuring the report template design, localization, access rights.
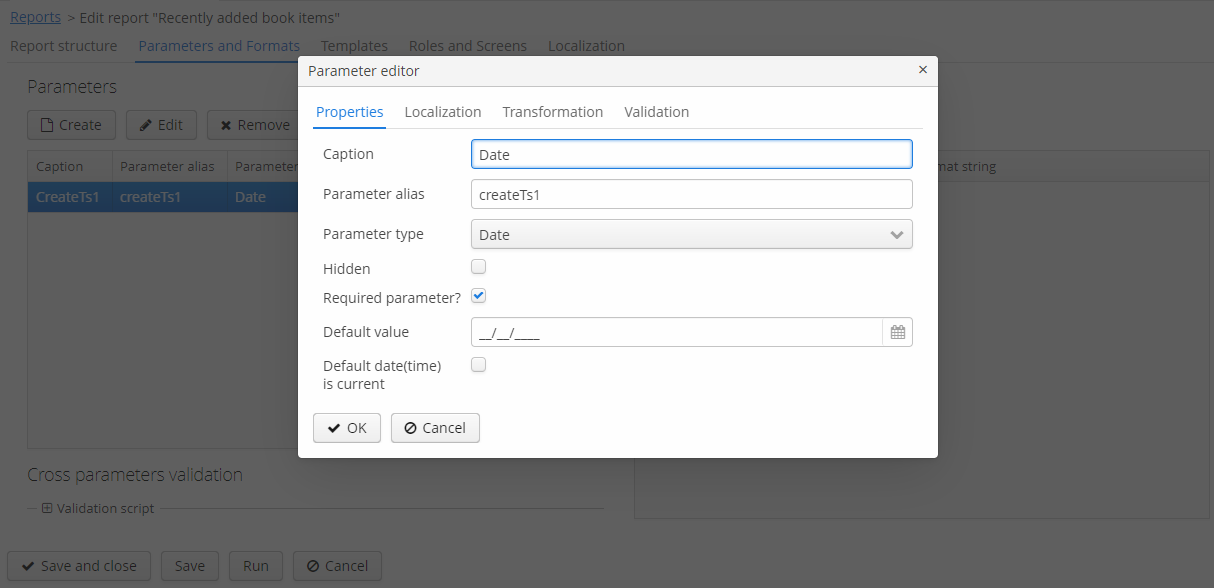
For instance, we can switch to Parameters and Formats tab and modify the query parameter in the Parameters list: Date instead of the standard CreateTs1. Save the changes and close the report editor.
After all, let us add the Run report button that runs the report right from the library departments browser.
In order to do this, we need to define a new RunReportAction standard action and a button for it in the librarydepartment-browse.xml screen descriptor:
<groupTable id="libraryDepartmentsTable"
            width="100%"
            dataContainer="libraryDepartmentsDc">
    <actions>
        <action id="create" type="create"/>
        <action id="edit" type="edit"/>
        <action id="remove" type="remove"/>
        <action id="run" type="runReport"/>
    </actions>
    <!-- -->
    <buttonsPanel id="buttonsPanel"
                  alwaysVisible="true">
        <!-- -->
        <button id="runReportBtn" action="libraryDepartmentsTable.run"/>
    </buttonsPanel>
</groupTable>
For each report, add library$LibraryDepartment.browse to the screens list on the Roles and Screens tab of the report editor, as we did in the previous examples.
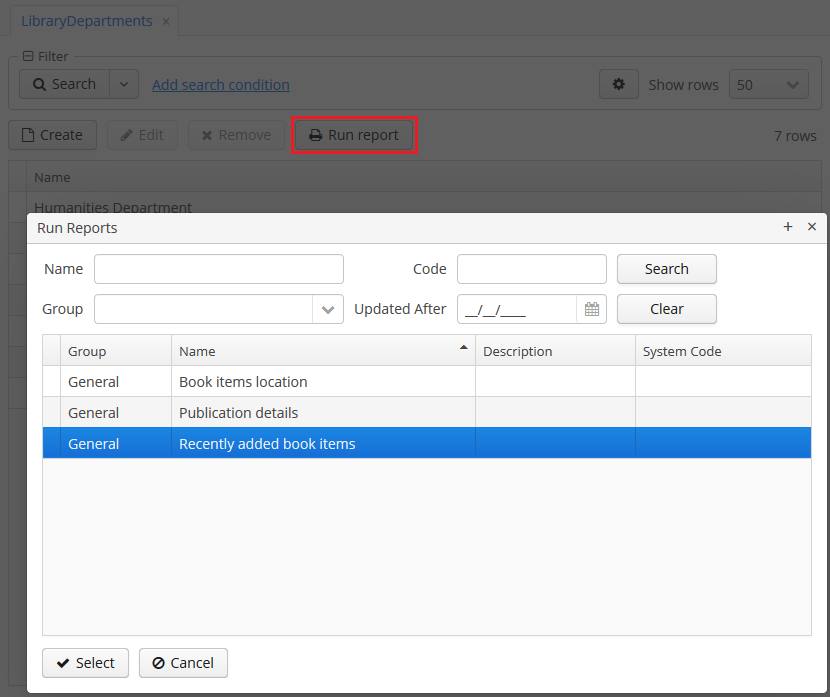
The Run report button will appear in the library departments browser, displaying the list of all reports available in the system in one click. In order to run the report, select Recently added book items in the list, specify the date and click Run report.
The output is as follows: