3.9.11.13. JavaScript Usage Example
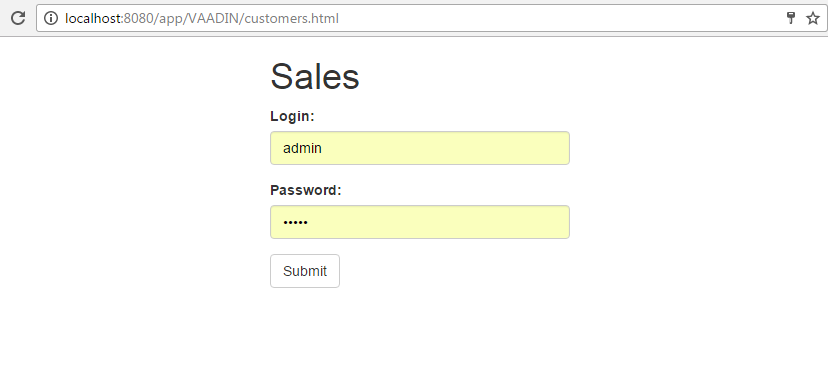
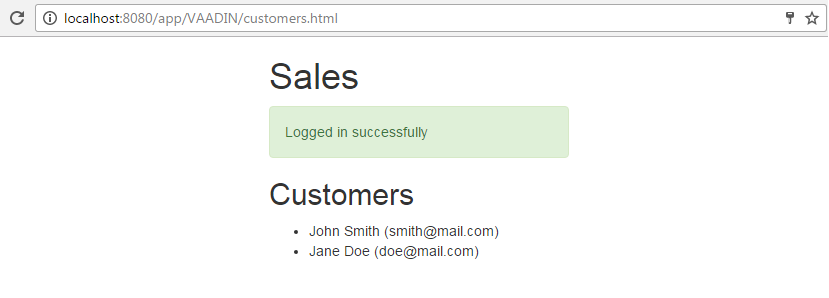
This section contains an example of using REST API v2 from JavaScript running on a HTML page. The page initially shows login form, and after successful login displays a message and a list of entities.
For simplicity, we will use modules/web/web/VAADIN folder for storing HTML/CSS/JavaScript files, as the corresponding folder in the deployed web application is used for serving static resources by default. So you will not need to make any configuration of your Tomcat application server. The resulting URL will start from http://localhost:8080/app/VAADIN, so do not use this approach in a real world application - create a separate web application with its own context instead.
Download jQuery and Bootstrap and copy to modules/web/web/VAADIN folder of your project. Create customers.html and customers.js files, so the content of the folder should look as follows:
bootstrap.min.css
customers.html
customers.js
jquery-3.1.1.min.js
customers.html file content:
<html>
    <head>
        <script type="text/javascript" src="jquery-3.1.1.min.js"></script>
        <link rel="stylesheet" href="bootstrap.min.css"/>
    </head>
    <body>
        <div style="width: 300px; margin: auto;">
            <h1>Sales</h1>

            <div id="loggedInStatus" style="display: none" class="alert alert-success">
                Logged in successfully
            </div>
            <div id="loginForm">
                <div class="form-group">
                    <label for="loginField">Login:</label>
                    <input type="text" class="form-control" id="loginField">
                </div>
                <div class="form-group">
                    <label for="passwordField">Password:</label>
                    <input type="password" class="form-control" id="passwordField">
                </div>
                <button type="submit" class="btn btn-default" onclick="login()">Submit</button>
            </div>

            <div id="customers" style="display: none">
                <h2>Customers</h2>
                <ul id="customersList"></ul>
            </div>
        </div>
        <script type="text/javascript" src="customers.js"></script>
    </body>
</html>
customers.js file content:
var oauthToken = null;
function login() {
    var userLogin = $('#loginField').val();
    var userPassword = $('#passwordField').val();
    $.post({
        url: 'http://localhost:8080/app/rest/v2/oauth/token',
        headers: {
            'Authorization': 'Basic Y2xpZW50OnNlY3JldA==',
            'Content-Type': 'application/x-www-form-urlencoded'
        },
        dataType: 'json',
        data: {grant_type: 'password', username: userLogin, password: userPassword},
        success: function (data) {
            oauthToken = data.access_token;
            $('#loggedInStatus').show();
            $('#loginForm').hide();
            loadCustomers();
        }
    })
}

function loadCustomers() {
    $.get({
        url: 'http://localhost:8080/app/rest/v2/entities/sales$Customer?view=_local',
        headers: {
            'Authorization': 'Bearer ' + oauthToken,
            'Content-Type': 'application/x-www-form-urlencoded'
        },
        success: function (data) {
            $('#customers').show();
            $.each(data, function (i, customer) {
                $('#customersList').append("<li>" + customer.name + " (" + customer.email + ")</li>");
            });
        }
    });
}
Login and password from the user input are sent to the server by the POST request with the Base64-encoded client credentials in the Authorization header as explained in Getting an OAuth Token section. If the authentication is successful, the web page receives an access token value from the server, the token is stored in the oauthToken variable, the loginForm div is hidden and the loggedInStatus div is shown.
To show the list of customers, the request is sent to the server to get the instances of the sales$Customer entity, passing the oauthToken value in the Authorization header.
In case the request is processed successfully, the customers div is shown, and the customersList element is filled with items containing customer names and emails.