2.2. Report for a List of Entities
Reports wizard allows you to create two types of reports for a list of entity instances:
-
Report for manually selected instances of a particular entity
-
Report for entity instances filtered by a certain request.
Let us have a look at the first report type. Let us assume we want to obtain a list of all book instances in the library (library$BookInstance entity) with titles and library departments they belong to.
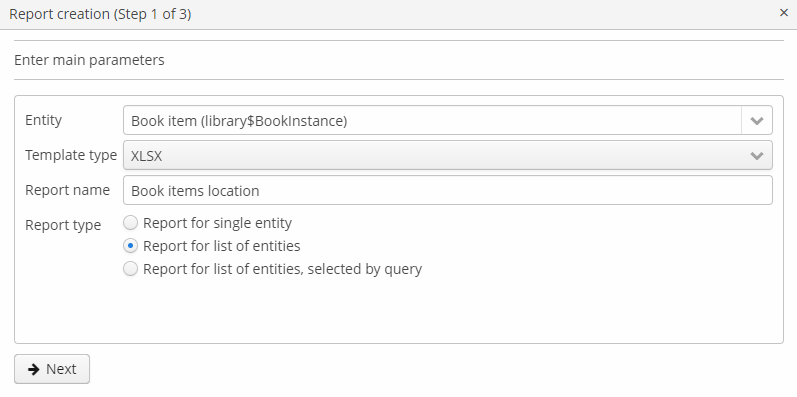
At the first stage, we specify the report details:
-
Entity - report entity -
library$BookInstance. -
Template type - output format - XSLX.
-
Report name - report name -
'Book items location'.
After that, select the type of the report (Report for list of entities) and click Next.
As per the task, we select BookItem.Publication.Book.Name and BookItem.LibraryDepartment.Name in the attributes selection window.
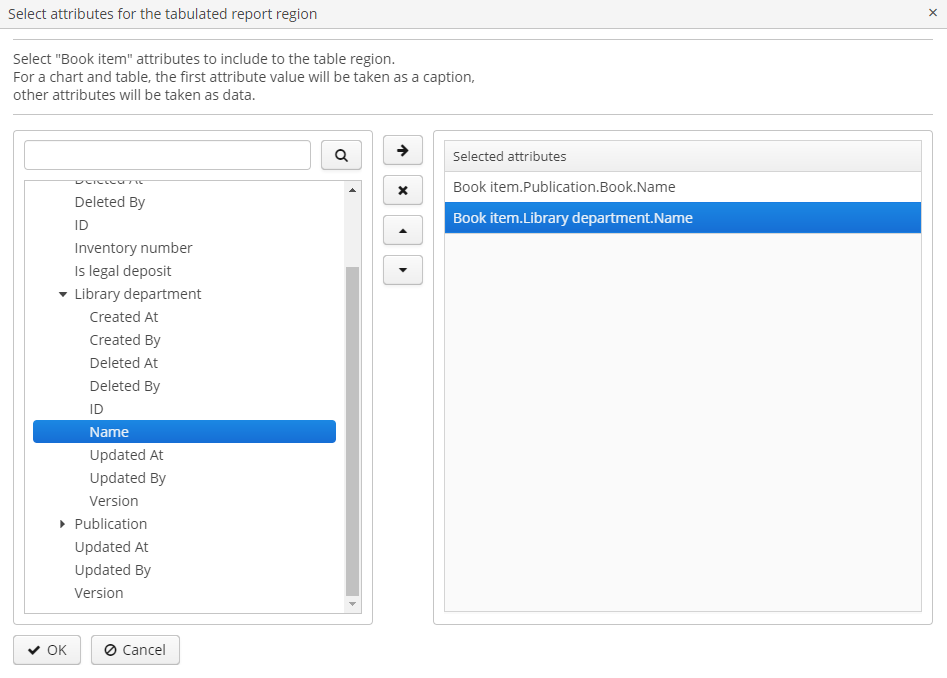
Click ОК and move to the second stage of report regions editing.
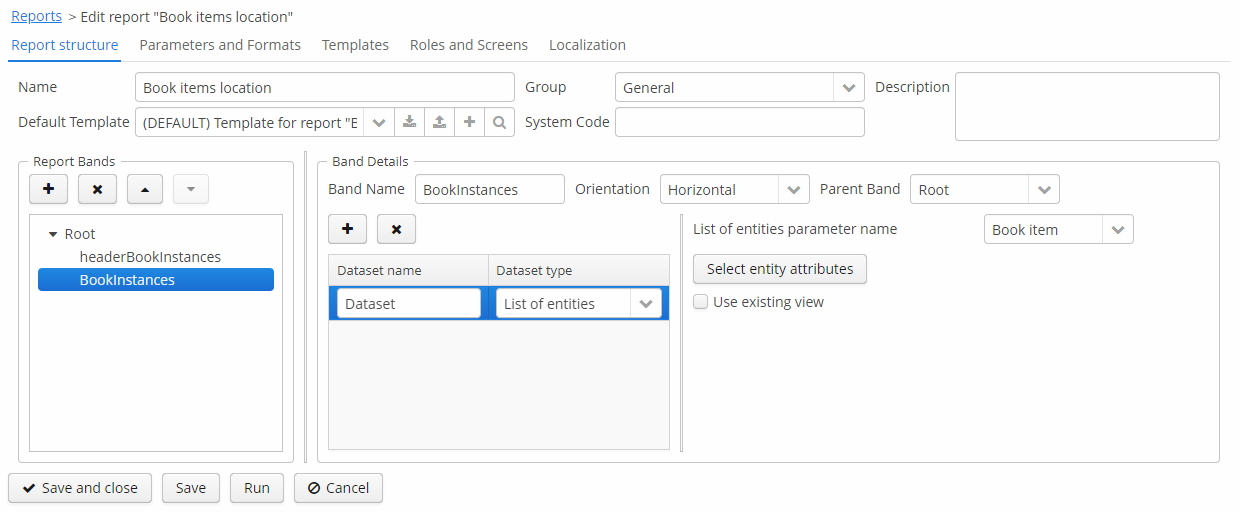
The report template for a list of entities restricted to have only one region that displays data in tabular form. Adding new regions is not allowed, but you can edit an existing set of data by clicking on the link with the list of attributes, or remove an existing region and recreate it.
In this case, we do not need to make any changes. Click Next → Save to save the report. The report looks as follows in the report editor:
Once the report is saved, you can run it from the reports browser.
In addition, we can add a button to run the report from the book items browser, which can be opened by clicking the Show items button in the publications browser. In order to do this, we will set the multiselect attribute for the book instances table to true to be able to specify a set of records for the report and then add the source code of the button:
      <table id="bookInstanceTable"
             multiselect="true">
             ...
                  <buttonsPanel>
                  ...
                      <button id="printList"
                      caption="msg://printList"/>
After that, inject the Button component in the screen controller:
@Inject
private Button printList;
Next, add the following implementation within the overridden init() method:
TablePrintFormAction action = new TablePrintFormAction("report", bookInstanceTable);
bookInstanceTable.addAction(action);
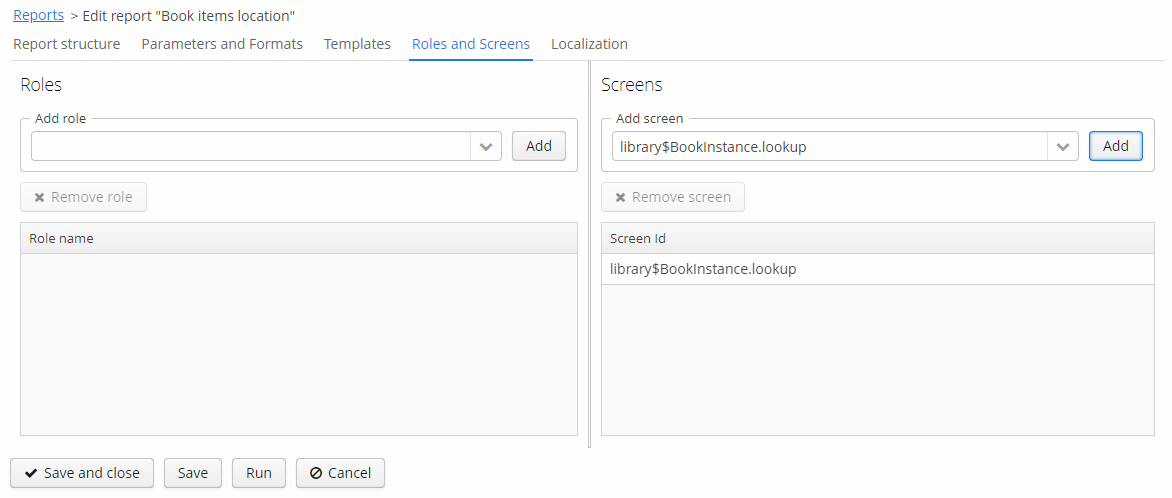
printList.setAction(action);Finally, we should link the Book items location report with the book items browser. Open the report editor, switch to the Roles and Screens tab and add the library$BookInstance.lookup screen from the screens dropdown to the table below:
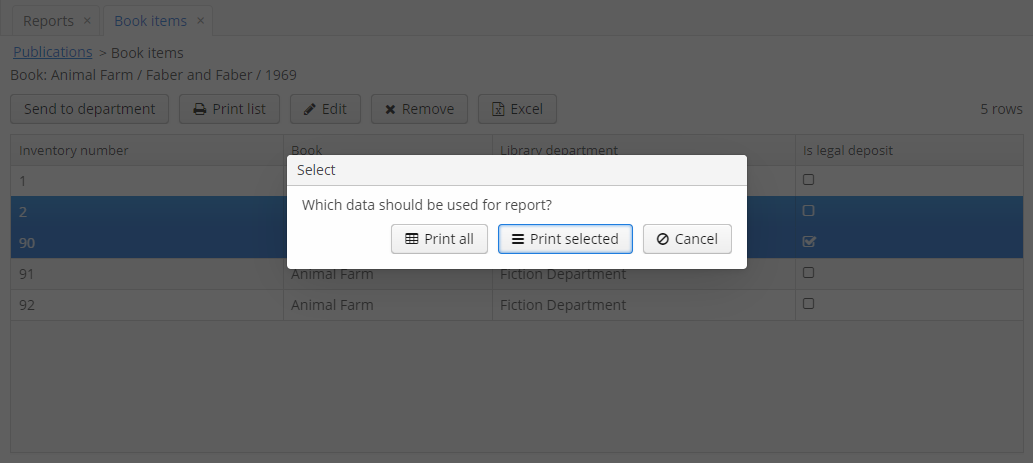
Now the report can be run from the book items browser by selecting items for the report in the table and pressing the Print list button. Print selected option exports the selected items, Print all option prints all instances selected by the current filter.
The output is as follows:
