3.12. Custom Elements in Model Designer
BPM subsystem enables creating custom elements for process model designer. Basically, a custom element is ServiceTask that saves the developer from the necessity of typing long expressions for method invocation, like ${app_MyBean.someMethod(argument1, 'argument2')}. Below is an example of custom element creation.
Suppose, there is a middleware bean with the app_DiscountManager name. There is a makeDiscount(BigDecimal discountPercent, UUID entityId) method in the bean. The method updates the contract amount by subtracting the discount.
In this example, we will create a custom model element that will invoke the method. The discount percent will be defined as a parameter of the model element.
Open the model elements editor with the menu item BPM → Model Elements Editor.
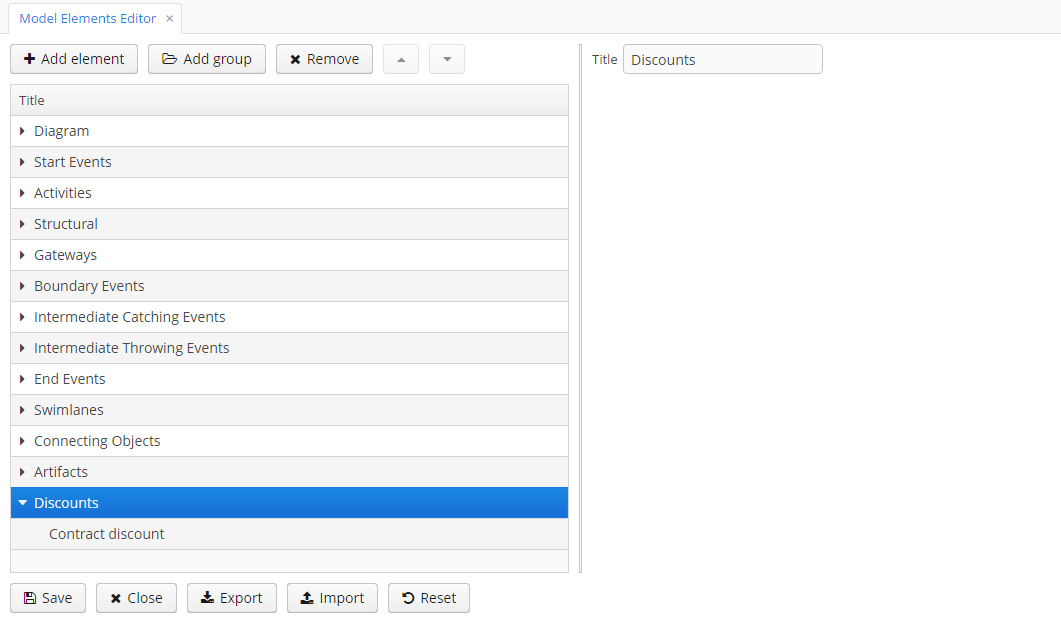
Click the Add group button and enter the group name - Discounts.

Select the created group and click the Add element button.

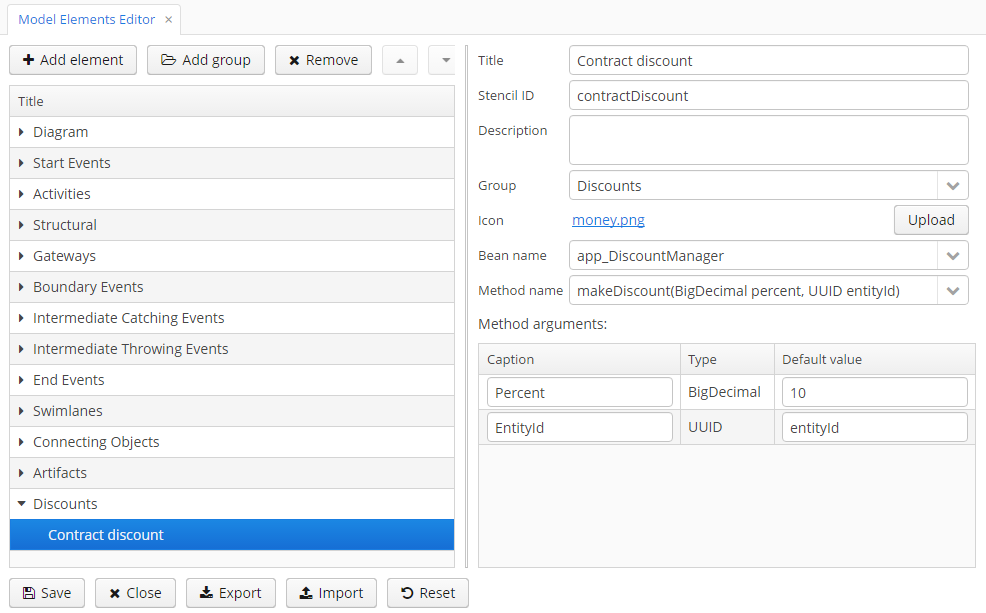
Enter the following values for element properties:
-
Title: Contract discount
-
Element ID: contractDiscount
-
Icon: click the Upload button and select the icon file (optional)
-
Bean name: select the app_DiscountManager
-
Method name: select the makeDiscount
|
Warning
|
The Bean name lookup contains only beans that implement an interface. The Method name lookup contains methods of implemented interfaces. |
The Method arguments table will contain method arguments. You can change a caption and an argument default value.
Save the elements set by clicking the Save button.
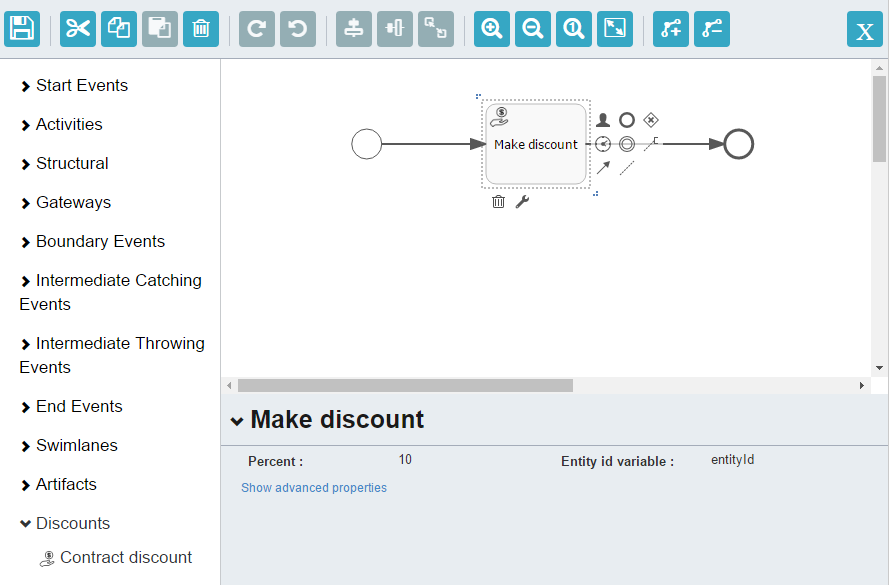
Open the process model editor (BPM → Process Models). There are the Discounts group and the Contract discount element in the elements list. Drag and drop the new element to the model and select it. You’ll see that fields for discount percent and process variable name for entity identifier appeared.

|
Tip
|
|
During the process deployment, a custom element will be transformed to a serviceTask:
<serviceTask id="sid-5C184F22-6071-45CD-AEA9-1792512BBDCE" name="Make discount" activiti:expression="${app_DiscountManager.makeDiscount(10,entityId)}"></serviceTask>The elements can be exported to a ZIP archive and then restored from the archive. It may be useful when new elements are created on a developer’s machine and then imported to the production server. Import and export are performed with the corresponding buttons on the elements editor screen.
The Reset button removes all custom groups and elements and reverts the elements set to its initial state.