2.3. Creating Entities
Let’s create the Customer entity class.
-
In the Data Model section of the CUBA project tree, right-click on this node and select New > Entity. The New CUBA Entity dialog window will appear.
-
Enter the name of the entity class –
Customer– in the Entity name field.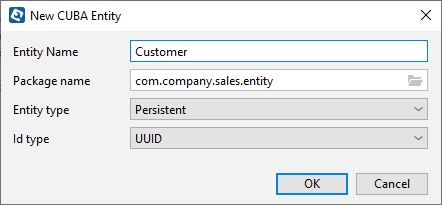
-
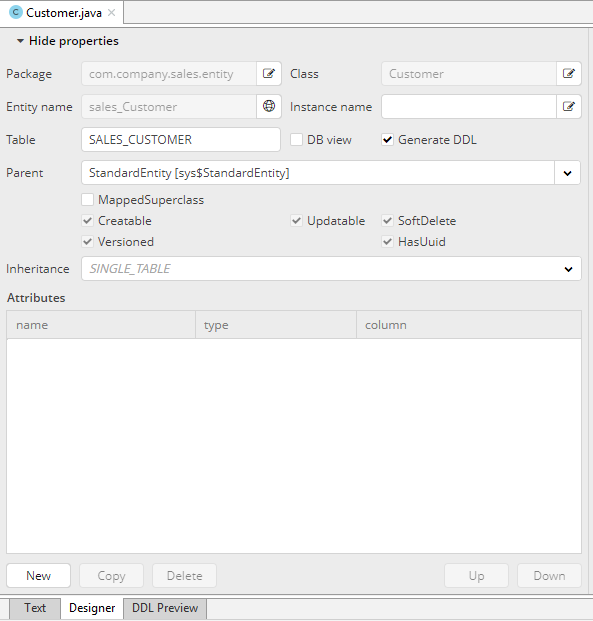
Click OK. The entity designer page will be displayed in the workspace.
-
The entity name and the database table name will be automatically generated in the Entity name and the Table fields respectively.
-
Leave the existing value –
StandardEntity- in the Parent field. -
Leave the Inheritance field unchanged.
Next, let’s create entity attributes. To do this, click the New button below the Attributes table.
-
Create attribute window will appear. Enter the name of the entity attribute −
name, in the Name field. SelectDATATYPEvalue in the Attribute type list, specifyStringattribute type in the Type field. Check the Mandatory box. The name of the database table column will be automatically generated in the Column field.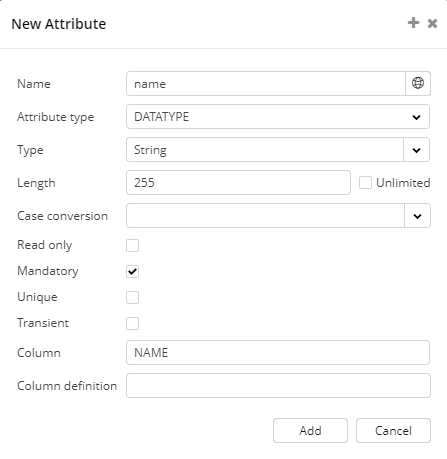
Click Add to add the attribute.
-
emailattribute is created in the same way. For this attribute we will add validation. After creating the attribute click on Email - not set link in the Validation section of the attribute property palette.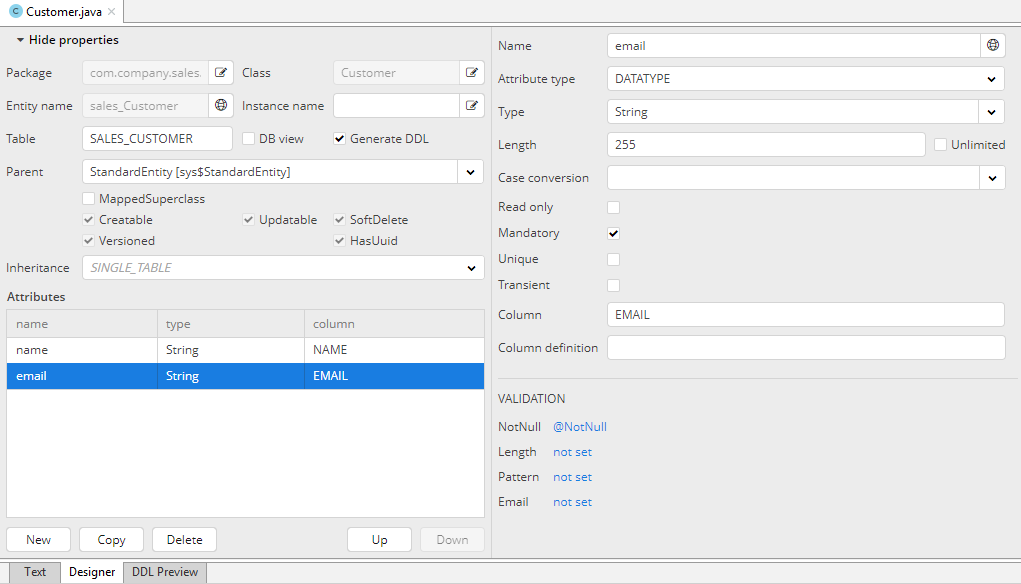
-
In the dialog check Enabled checkbox and enter validation error message
Email address is not validand click OK.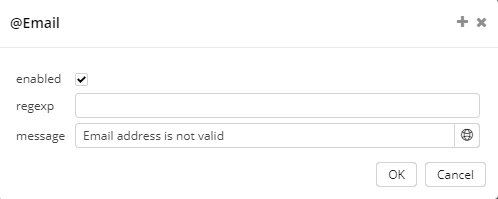
Now switch to the Text tab. It contains the source code of the Customer class.
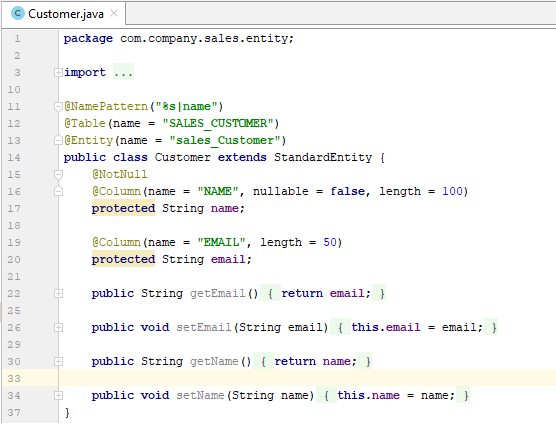
Customer entity creation is now complete.
Let’s create the Order entity.
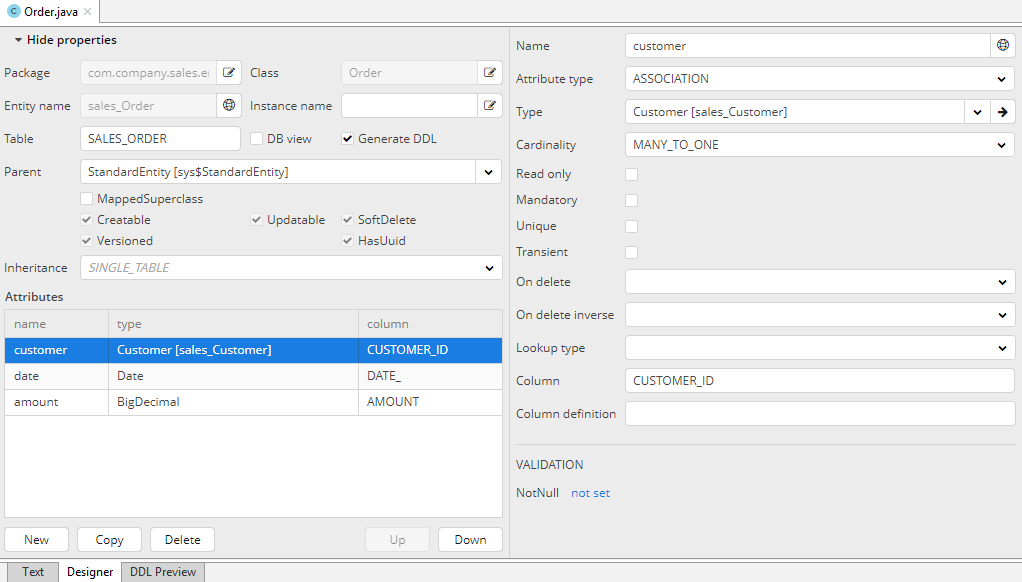
Right-click on the the Data Model node of the CUBA project tree, click New > Entity. Enter the Entity name − Order. The entity should have the following attributes:
-
Name −
customer, Attribute type −ASSOCIATION, Type −Customer, Cardinality −MANY_TO_ONE. -
Name −
date, Attribute type −DATATYPE, Type −Date. Check Mandatory box fordateattribute. -
Name −
amount, Attribute type −DATATYPE, Type −BigDecimal.
