3.6. Running the Application
Now let us see how the created screens look in the actual application. Select Run > Restart application server.
Log in selecting English language in the login window. Open the Sales > Customers menu item:
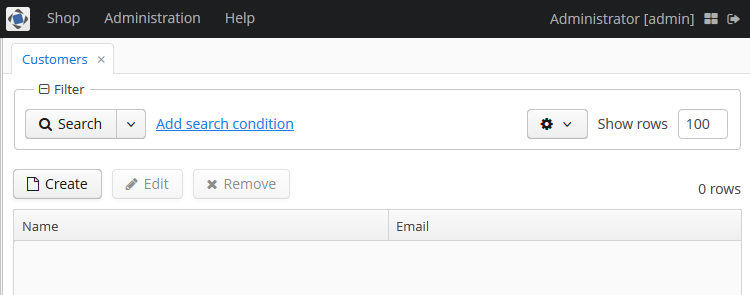
Figure 1. The Customers browser
Click Create:
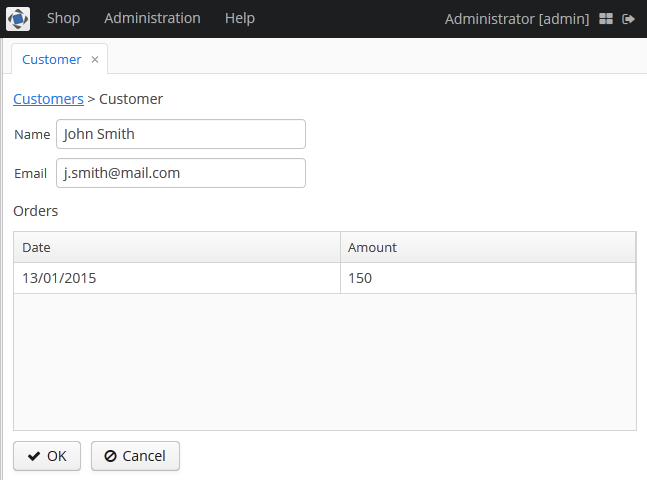
Figure 2. The Customer editor screen
Open the Sales > Orders menu item:
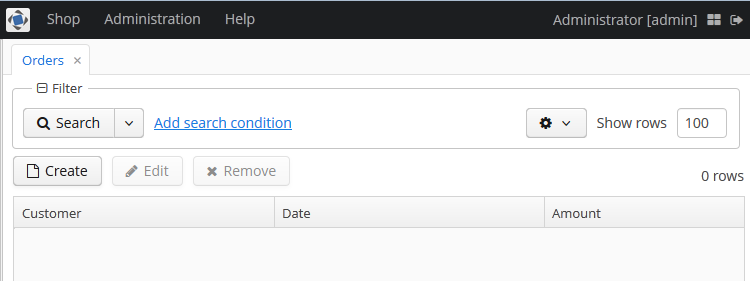
Figure 3. The Orders browser
Click Create:
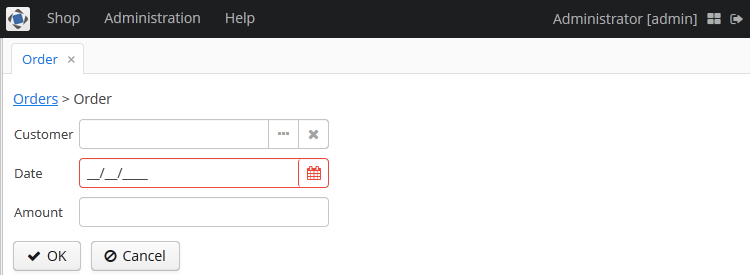
Figure 4. The Order editor