4. Adding BI to Your Application
-
Install the add-on in your project.
-
Double-click Add-ons in the CUBA project tree.
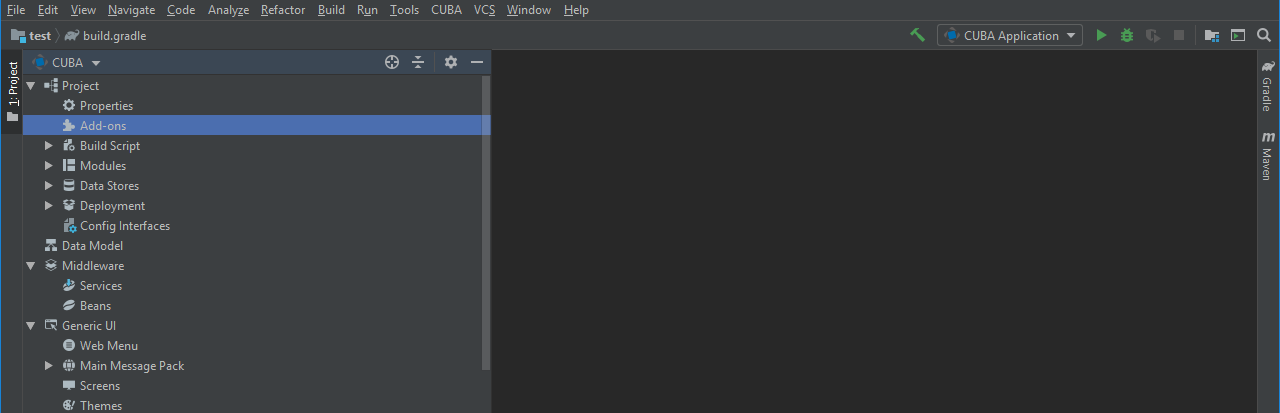 Figure 27. Add-ons in CUBA project tree
 -
Select Marketplace tab and find Business Intelligence add-on.
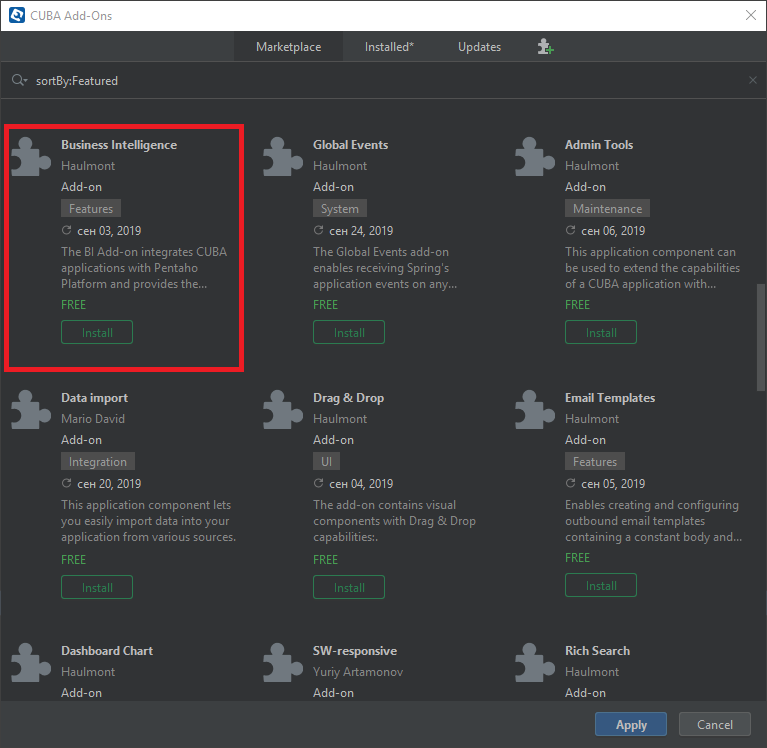 Figure 28. Marketplace window
 -
Click Install button and then Apply & Close.
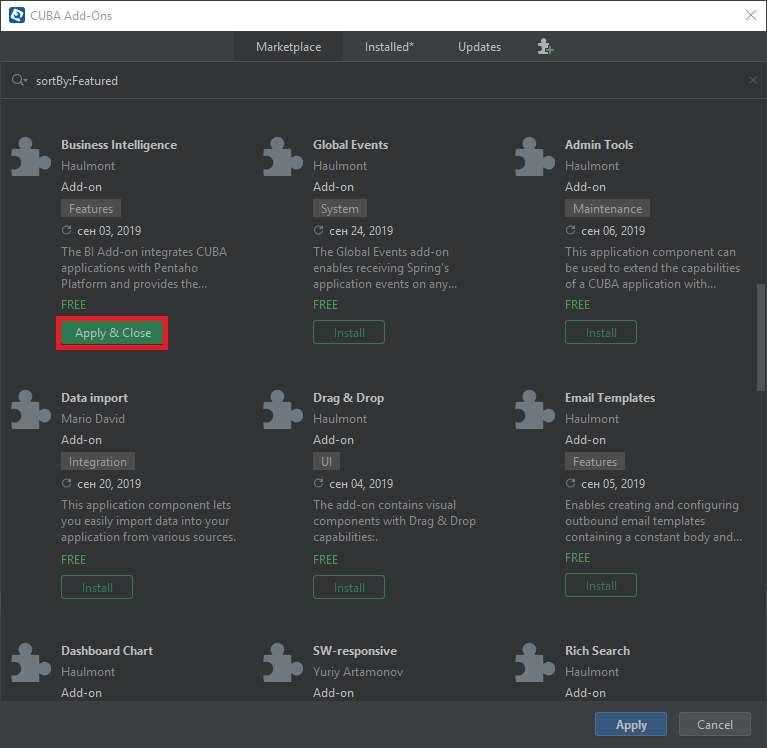 Figure 29. Apply & Close button
 -
Click Continue in the dialog.
 Figure 30. Confirm dialog
The add-on corresponding to the used platform version will be installed.
-
-
Add
cuba.web.mainTabSheetModeproperty to yourweb-app.propertiesfile in order to keep report content while switching application tabs:cuba.web.mainTabSheetMode = MANAGED -
Register your BI report in the BI > BI Reports screen provided by the add-on. Click Create and set the path to your Pentaho report:
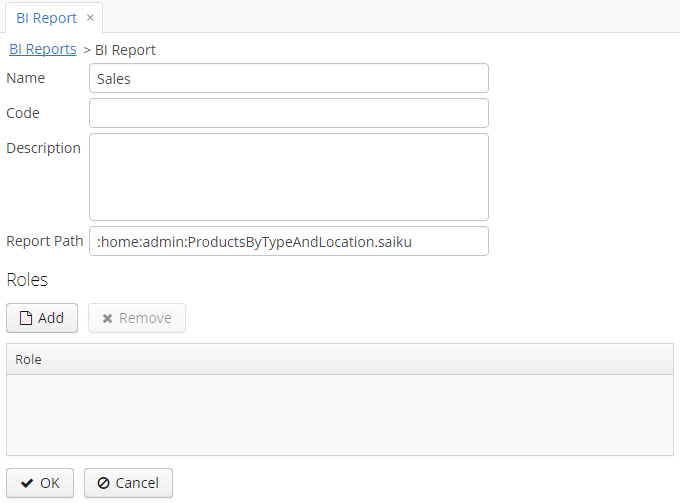 Figure 31. BI Reports screen
The list of roles allows you to make the report available to certain users only. If the list is empty, the report is available to all.
Now users can run the report in the BI > Run BI Reports screen.
-
Another option is to embed BI reports to application screens using the
biComponentvisual component provided by the add-on. For example:<cubabi:biComponent id="biComponent" height="100%" reportPath=":home:admin:ProductsByTypeAndLocation.saiku" width="100%"/>The
reportPathattribute is the path to the report file in Pentaho User Console. Also, add thecubabinamespace to thexmlnsattribute of thewindowelement:xmlns:cubabi="http://schemas.company.com/cubabi/0.1/ui-component.xsd"